
Paving a driveway usually takes 1 to 3 days, but it depends on the size and complexity of your project. If you’re opting for intricate designs or premium materials, it might take longer. Weather can also play a big role, as rain or extreme temperatures can cause delays. To guarantee a smooth process, it’s important to take into account these factors. There’s more to know about optimizing your driveway paving experience, so keep exploring!
Key Takeaways
- Paving a driveway typically takes 1-3 days, depending on the project size and complexity.
- Larger driveways require more labor and materials, potentially extending the timeline.
- Weather conditions, such as rain or extreme temperatures, can cause significant delays.
- The complexity of the design and local regulations may add time to the project.
- Selecting premium materials can speed up the process, as higher budgets allow for more efficient work.
What Is the Average Time to Pave a Driveway?
When considering how long it takes to pave a driveway, you might wonder about the factors that influence the timeline. On average, paving a driveway can take anywhere from one to three days, depending on the size and complexity of the project.
Paving a driveway typically takes one to three days, influenced by project size and complexity.
If you’re doing basic asphalt work, it might be on the shorter end. However, if you’re considering additional driveway maintenance like sealing or layering, you’ll need to factor in extra time.
Cost estimation also plays a role in your timeline. Higher costs usually mean more intricate work, which can extend the duration.
Weather conditions can further impact the schedule; rain or extreme temperatures can delay progress.
Ultimately, it’s essential to communicate with your contractor to get a clear idea of how long your specific project will take, ensuring you’re prepared for the process ahead.
Key Factors Affecting Driveway Paving Timelines
Several key factors can influence how long your driveway paving project takes.
First, design considerations play an essential role. If you’re opting for a complex layout or unique features, it’ll take more time to execute than a straightforward design.
Next, the size of your driveway matters; larger areas naturally require more labor and materials, extending the timeline.
Cost estimates also impact the duration. If your budget allows for premium materials or professional services, the project might progress faster due to better equipment and skilled labor.
Weather conditions can’t be overlooked, either; rain or extreme temperatures can delay work considerably.
Lastly, local regulations and permits may add time to your project as you navigate approvals.
Selecting Materials for Driveway Paving
When it comes to paving your driveway, choosing the right materials can make all the difference.
You’ll need to weigh the pros and cons of options like asphalt and concrete, as well as consider eco-friendly alternatives.
Each choice has its benefits, so let’s explore what fits your needs best.
Asphalt vs. Concrete Choices
Choosing between asphalt and concrete for your driveway can feel overwhelming, but understanding their differences helps make the decision easier.
Asphalt offers excellent longevity, often lasting 15 to 20 years with proper care. It’s also quicker to install, meaning you can use your driveway sooner.
On the other hand, concrete is known for its durability and can last up to 30 years, but it requires more maintenance over time, like sealing and crack repairs. Concrete’s appearance options are vast, allowing for customization.
Ultimately, consider your budget, how much maintenance you’re willing to do, and how long you want your driveway to last. Both materials have their benefits, so weigh them carefully to make the best choice for your needs.
Eco-Friendly Paving Options
While traditional paving materials like asphalt and concrete are common, exploring eco-friendly options can considerably reduce your environmental footprint.
By choosing sustainable materials, you not only benefit the planet but also enhance your home’s value.
Consider these options:
- Recycling asphalt: Using reclaimed asphalt reduces waste and conserves resources.
- Permeable pavers: These allow water to drain through, minimizing runoff and promoting green landscaping.
- Eco-friendly sealants: Opt for sealants that are free from harmful chemicals to protect the environment.
How Driveway Size Impacts Paving Time
The size of your driveway can greatly impact how long it takes to complete the paving process. Larger driveway dimensions mean more area to cover, which can extend the time required for paving.
The size of your driveway significantly affects paving time, with larger areas requiring more time to complete.
If you have a small driveway, the job might be wrapped up in just a few hours. However, for bigger spaces, expect several days of work.
Paving efficiency is essential here. A skilled crew can manage larger areas effectively, but if the driveway is particularly intricate or has many curves, it could slow things down.
Also, consider the type of material you’re using. Asphalt typically sets faster than concrete, which can further influence your timeline.
Ultimately, knowing your driveway’s dimensions helps set realistic expectations for how long the paving will take, ensuring you’re prepared for the project ahead.
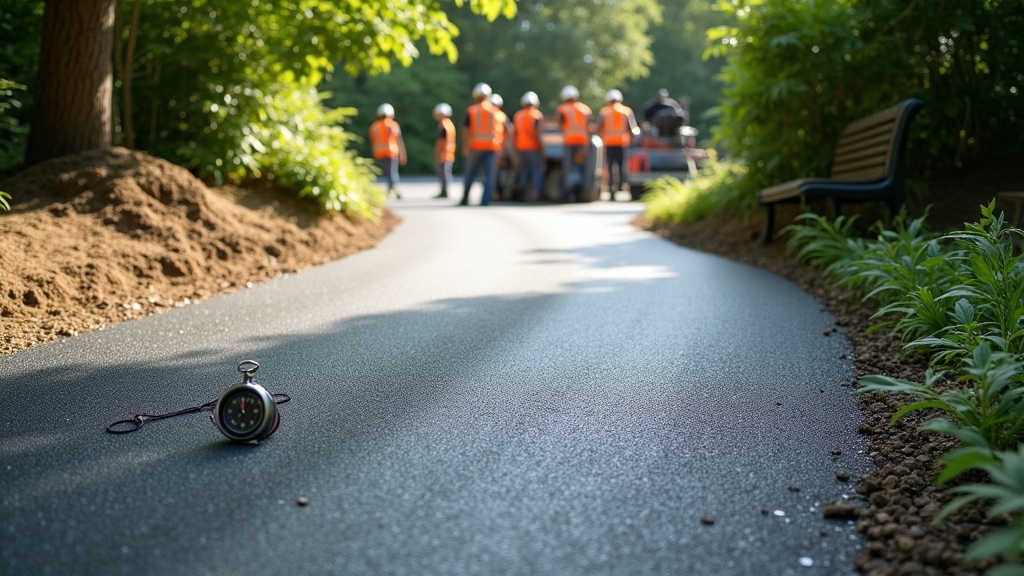
Weather Conditions Affecting Driveway Paving
When planning to pave your driveway, it’s important to take into account how weather conditions can impact the timeline. Understanding these factors helps guarantee a smooth process and quality results.
- Rain impact: Wet conditions can delay paving, as moisture affects surface preparation and can lead to poor adhesion.
- Temperature effects: Extreme heat or cold can hinder the curing process, making it necessary to choose suitable days for paving.
- Humidity influence: High humidity can slow down drying times, while low humidity can accelerate them, affecting how long you’ll need to wait before using your driveway.
Seasonal considerations are also significant; spring might bring rain, while summer offers heat.
Additionally, strong wind conditions can disrupt the application of materials. Keeping these elements in mind will help you better plan your driveway project!
Planning Your Driveway Project Timeline
To effectively plan your driveway project timeline, start by determining how long each stage will take and what factors could influence that duration. You’ll want to take into account your driveway design and how it impacts the overall schedule. Here’s a simple table to help you visualize the timeline:
| Stage | Duration (Days) | Influencing Factors |
| Planning | 1-3 | Design complexity |
| Site Preparation | 2-5 | Ground conditions |
| Paving | 1-2 | Weather |
| Curing | 3-7 | Temperature |
In addition, project budgeting plays a significant role in your timeline. Make sure you account for unexpected costs, which may extend the duration. By staying organized and proactive, you’ll keep your driveway project on track and within budget.
Essential Preparation Steps for Driveway Paving
Before you start paving your driveway, you’ll need to assess the site and plan accordingly.
Choosing the right materials and ensuring proper drainage are vital steps that can make or break your project.
Let’s explore these essential preparation steps to set you up for success.
Site Assessment And Planning
Successful driveway paving starts with a thorough site assessment and careful planning.
You need to evaluate the area where you’ll pave to guarantee a smooth process and an effective design.
Here’s what to focus on during your site evaluation:
- Soil Condition: Check for stability and drainage issues that could affect the paving.
- Dimensions: Measure the space accurately to create a precise project estimation.
- Access Points: Identify entry and exit routes for construction vehicles and equipment.
Material Selection Process
After evaluating your site, the next step is choosing the right materials for your driveway paving project.
You’ll want to take into account options like asphalt, concrete, or pavers, each with its own advantages. Think about material durability; asphalt is flexible but may need repairs sooner than concrete.
Pavers offer a unique look but can be more expensive. Cost considerations are essential—determine your budget before diving in.
Remember, the cheapest option mightn’t be the most durable, leading to higher long-term costs. Balance your priorities by weighing initial expenses against expected lifespan and maintenance needs.
Proper Drainage Installation
Proper drainage installation is essential for guaranteeing your driveway’s longevity and preventing water damage. Without it, water can pool and erode the surface, leading to costly repairs.
Here are some effective drainage solutions to contemplate:
- Grade your driveway: Guarantee it slopes away from your home to direct water flow.
- Install drainage pipes: These can help channel water away efficiently.
- Use gravel or permeable pavers: This allows water to seep through, reducing surface runoff.
Implementing these maintenance tips will keep your driveway in top shape.
Regularly check your drainage systems for clogs and guarantee they’re functioning properly. By prioritizing proper drainage now, you’ll save yourself time and money in the long run.
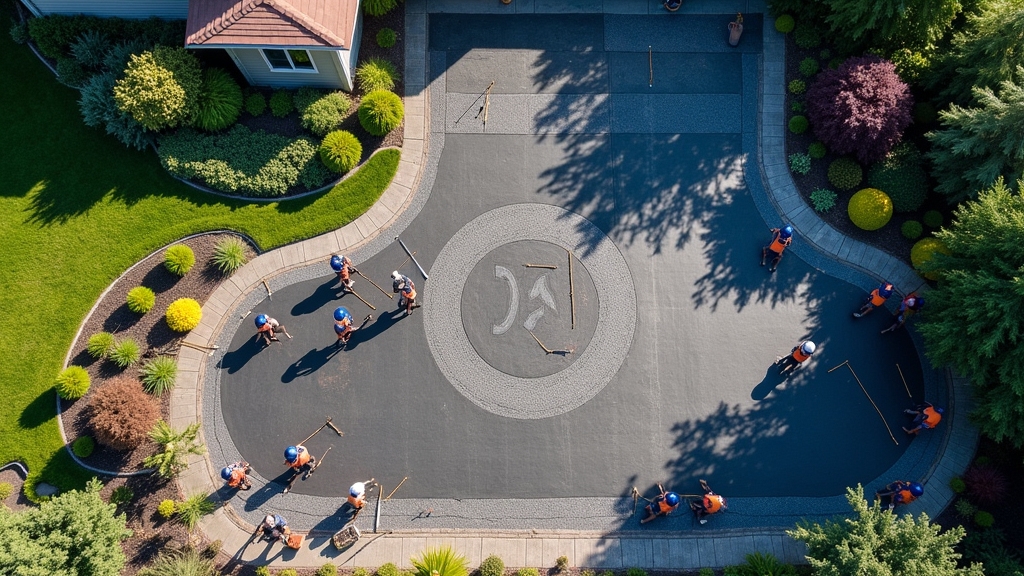
Step-By-Step Overview of the Paving Process
While paving a driveway may seem intimidating, breaking it down into manageable steps can make the process smoother.
First, you’ll want to prepare the area by clearing debris and marking the boundaries. Next, you’ll need to excavate the soil to create a stable base. This is essential for effective driveway maintenance later on.
Once the base is ready, you can lay down the gravel or base material, ensuring it’s compacted evenly.
After that, choose your paving technique, whether asphalt or concrete, and start applying it in layers. Allow each layer to set properly before adding the next.
Finally, finish up by sealing the surface to protect it from damage and enhance its lifespan.
Regular maintenance, like filling cracks and sealing, will keep your driveway looking great for years to come. Following these steps will guide you through the paving process efficiently.
Comparing Asphalt and Concrete Driveway Paving Durations
When considering driveway options, you’ll want to understand how long each type takes to install.
Asphalt typically sets up faster than concrete, making it a popular choice for quick projects.
However, concrete offers durability that might justify its longer installation time.
Asphalt Paving Timeframe
Asphalt paving typically takes less time than concrete, making it a popular choice for homeowners in a hurry. You can expect the process to last just a few days, depending on your driveway’s size and the paving techniques used.
Here are some key points to weigh:
- Quick Installation: Asphalt can often be laid down in a single day, allowing for faster access.
- Curing Time: While asphalt needs a few hours to set, you can usually drive on it within 24 hours.
- Driveway Maintenance: Regular maintenance can extend the life of your asphalt, keeping it in great shape longer.
Choosing asphalt not only saves time but also offers flexibility in maintenance, ensuring your driveway stays functional and attractive.
Concrete Installation Duration
If you’re considering a concrete driveway, you should know that its installation generally takes longer than asphalt. Typically, the entire process can span several days, primarily due to concrete curing, which usually requires at least a week to achieve ideal strength.
During installation, various techniques, such as proper grading and reinforcement, play an important role in guaranteeing durability.
While the initial pouring may happen quickly, the waiting period for the concrete to cure is vital. This phase prevents cracking and promotes longevity.
In contrast, asphalt can often be ready for use within hours of installation. So, if you choose concrete, be prepared for a longer wait, but rest assured, the end result will be a sturdy and lasting surface.
Common Delays in Driveway Paving and How to Avoid Them
Though paving your driveway may seem straightforward, several common delays can disrupt the process. Being aware of these issues can help you plan better and avoid unnecessary setbacks.
- Weather Delays: Rain, snow, or extreme temperatures can halt paving work. Keep an eye on the forecast and schedule your project accordingly.
- Contractor Availability: Quality contractors often have packed schedules. Book your paving service well in advance to secure a spot that works for you.
- Site Accessibility: If your driveway’s hard to access, it can slow down the project. Clear any obstacles and guarantee the area is ready for equipment.
Understanding Post-Paving Curing Time
Once your driveway is paved, understanding the curing time is vital to guarantee its longevity and performance. The curing process allows the asphalt to harden and gain strength, which typically takes about 24 to 48 hours for initial setting. However, temperature effects can greatly influence this timeframe. Warmer temperatures accelerate curing, while cooler conditions can extend it.
Here’s a quick reference table to help you understand the typical curing times based on temperature:
| Temperature (°F) | Curing Time (Hours) | Notes |
| 50 | 48 | Slow curing process |
| 70 | 24 | Ideal conditions |
| 90 | 12 | Rapid curing, but watch for cracks |
Make sure to avoid heavy traffic on your new driveway during this period. Proper curing is essential for a durable and functional surface.
Tips for a Successful Driveway Paving Project
To guarantee a successful driveway paving project, you should start with thorough planning and preparation.
Start your driveway paving project with careful planning and preparation for guaranteed success.
Consider key factors that can affect the outcome and longevity of your driveway. Here are some tips to keep in mind:
- Evaluate the Weather: Pay attention to seasonal considerations. Avoid paving during extreme heat or cold, as this can affect the asphalt’s curing process.
- Prepare the Base: Make sure the foundation is solid. Proper grading and drainage are essential for preventing future issues.
- Plan for Maintenance: Implement a routine driveway maintenance schedule. Regular sealcoating and crack filling can extend the life of your new driveway.
FAQs About Driveway Paving Timelines
When can you expect your driveway paving project to be completed? The timeline can vary based on several factors, including weather conditions and your contractor’s schedule. Typically, the process takes a few days, but seasonal considerations can impact this.
Here’s a quick overview of what to expect:
| Factor | Timeline |
| Site Preparation | 1-2 days |
| Asphalt Installation | 1 day |
| Cure Time | 24-48 hours |
| Driveway Maintenance | Ongoing after paving |
| Seasonal Considerations | Spring or Fall preferred |
Frequently Asked Questions
Can I Use My Driveway Immediately After Paving?
No, you can’t use your driveway immediately after paving. Depending on the paving materials and driveway types, it typically needs several hours to days to cure properly. Wait for the recommended time to guarantee durability.
How Can I Maintain My Driveway After Paving?
To maintain your driveway, seal it every few years and clean the surface regularly. This prevents cracks and stains, keeping it in great shape. Regular care guarantees your driveway looks good and lasts longer.
What Should I Do if It Rains During Paving?
If it rains during paving, halt the process immediately. Rain can impact the asphalt’s integrity. Use proper paving techniques, like covering with tarps, to protect the surface until conditions improve and work can resume.
Are There Specific Permits Needed for Driveway Paving?
Yes, you’ll likely need a permit for driveway paving, depending on local paving regulations. Check with your city’s planning department for specific requirements and start your permit application early to avoid delays.
How Do I Choose a Reliable Paving Contractor?
To choose a reliable paving contractor, research contractor reviews and ask for recommendations. Evaluate their experience with different paving materials, and don’t hesitate to request references or view past projects to guarantee quality work.
Final Thoughts
Most driveway paving projects take 1–3 days, but the true timeline depends on your driveway’s size, the materials you choose, site preparation needs, and weather conditions. The best way to avoid surprises is to plan ahead, schedule around favorable weather, and work with an experienced crew that can set clear expectations from start to finish.
At Paterson Asphalt Paving, we keep the process straightforward—from planning and prep to the final surface—so you know what to expect at every stage. If you’re ready to pave a new surface or upgrade an existing one, explore our services and reach out through our contact page to request an estimate and get your project on the schedule.